
There are a ton of things I want to write about that I don’t feel qualified to discuss. I generally want to be able to perform a movement well myself before I provide tips on how anyone else should do it. This is why I have yet to share handstand tips, despite requests!
Lately though, I’ve come to believe this arbitrary restriction only limits what I can write about and prevents me from sharing some of the information I’ve found most useful myself. In fact, those that are still learning themselves often make the best teachers; as they know precisely what helped them on their journey – and that knowledge is still fresh. Falling on your head a lot? I can relate!
So, with that in mind, I welcome you to the “From a Learner” series. Here, I’ll be talking about things I’m still learning, and sharing tips that can help you along the way. We’ll learn together!
And, as the title suggests, I’m starting with handstand tips.
Where I’m At
I by no means consider myself to be an expert or even particularly adept when it comes to handstands. That said, they are a lot better now than they were three months ago, and I have some key handstand tips that helped me get to this point.
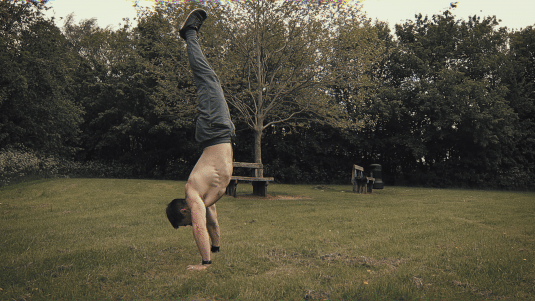
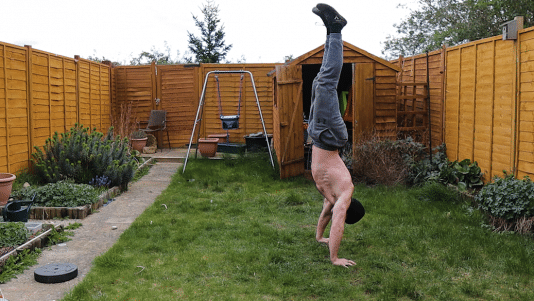
While I’ve been able to walk on my hands since I was 13, that was always with a big curve in my spine (called a banana handstand). I also struggled much more to hold the handstand still, or perform handstand push ups.
SUPERFUNCTIONAL 3: SUPERMOVER - SPRING SALE!
Supermover is a program that builds an athletic physique and functional performance with short, accessible, & fun home workouts.
GET SUPERMOVER HERE!
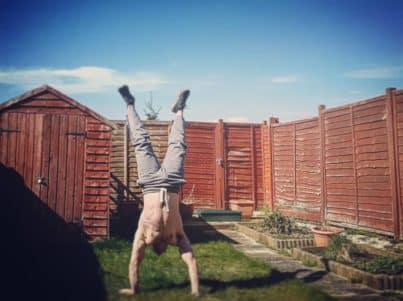
There is nothing wrong with a banana handstand. There is no “right way” to move, especially if the movement is primarily aesthetic/fun. However, there are benefits to the straight handstand if you want to progress to more challenging movements.
For example: it is much easier to do a handstand push-up from this position, or to transition into planche (so I am led to believe!). It’s also easier to hold for longer, seeing as you’ll have your joints stacked on top of one another. This reduces the amount of strength involved in maintaining the position, thus turning it into more of a balancing challenge.
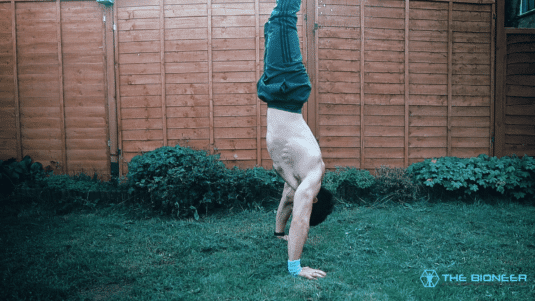
I’ve been gradually straightening my handstand out. This process alone has shown me how much I’m lacking in the shoulder-mobility department. I’m now much more stacked, though you can still see the limitations if you know what you’re looking for.
What I am now able to do though, is consistently hold a handstand for 30 seconds to a minute, and even perform a few handstand push ups. I don’t hold it every time, but it’s getting to the point where I’m successful more often than not.
My Top Handstand Tips
While I have a long way yet to go, I’m definitely making progress and I’m feeling really good about my handstands right now. Here are the handstand tips that helped me get to this point.
Improve Shoulder Mobility
This is a big one. I’ve read that great shoulder mobility is not necessary but, in fact, it makes life a lot easier. Stand by a wall and see if you can raise your hands over your head while keeping them flat against it. Now notice the arch in your back and straighten that out! Are your arms still straight? And do you see how this might be a limitation when you’re upside down… trying to prevent your back from arching?
For me, the best shoulder mobility exercise has been dead hangs. I do these passively (meaning I’m not engaging any muscles) and try to feel the stretch in my lats. I’m doing this for at least a minute at a time, several times a day.
The dumbbell pullover is also a fantastic exercise for increasing shoulder mobility, too. You can also practice holding a bar over your head and trying to get it as far back as possible. This is a good one, seeing as you can do it anywhere.
Improve Core Strength
I’m applying the ATSP hierarchy here (attributes, traits, skills, proficiencies). If the handstand is the skill, then I need core strength and shoulder mobility as traits. Keeping your core steady is one of the biggest challenges when you’re upside down and failure to do this will cause you to over-or-under balance (and thus, topple over).
See also: Train for Anything and Everything (The ATSP Hierarchy)
A lot of people use the hollow body to strengthen their transverse abdominis, so that they can prevent their back from arching. Look up the exercise if you’re not familiar, but it basically involves shaping your torso like a dish so that your shoulders and feet are raised off the ground. To do this, you contract your transverse abdominis.
However, I recommend you also practice some form of anti-flexion movement like the inverse plank, so that you can avoid collapsing the other way and under-balancing. This actually happens to me more often! This isn’t one of the handstand tips I see a lot, but it has been really useful for me.
See also: Reverse Plank: Simple But Brilliant
Practice Against a Wall
Another tip is to practice against a wall. FitnessFAQs recommends doing this facing the wall, so that you can more closely match the correct technique for balancing and avoid that arched back.
While Fitness FAQs is definitely right (and way, way better at this stuff than me!), this isn’t how I’ve been doing it. I face away from the wall because I don’t want to get greasy footprints on the wall (I grease, even through my socks) and because falling backwards is much scarier than falling forward. With that said, I don’t actually use the wall, but rather just keep it there to catch me if I should fall. What this allows me to do, is to quickly rectify any over balancing and continue trying, rather than having to start again from scratch each time, or bail in a scary way.

That said, I also recommend practicing without the wall, so that you don’t become reliant on it. I tend to do the latter whenever I’m on grass. Though now that I’m a bit more confident, I’ll also bang out some free-standing handstands in the living room.
Grip the Floor
Of all the handstand tips I’ve heard, the most useful for me by far has been to think of the hand like a foot. Here, the fingers act like toes to prevent overbalancing (falling toward your back), and the base of the palm acts like a heel to prevent under-balancing (falling toward your stomach).
Life gets easier when you point the fingers forward and grip into the ground like a claw. You can then correct for any over balancing as long as your core is rigid enough and you aren’t fighting too much momentum/the lever arm isn’t too great. You’ll quickly find this becomes a forearm workout, which is awesome.
You’ll quickly find this becomes a forearm workout, which is awesome.
It was one more tip that recently took my handstand practice to the next level: to push through the heel to prevent under-balancing. This might seem obvious in light of what I just explained, but it never actually occurred to me. The hand isn’t exactly shaped like a foot, and so I never thought I could correct an underbalance with my heel in the same way. Even though it feels like it shouldn’t work, it does. So, focus on pushing through the heel, bend the elbows ever so slightly, and try turning them in to prevent yourself falling that way. I got this tip from watching Sondre Berg, who is another fantastic resource for this stuff!
See also: Increase Power With Forearm and Grip Strength Training
Oh, and splay the fingers too so as to create maximum surface area.
Covnersely, keeping the arms slightly narrower (literally shoulder-width), should help you to keep the joints stacked. This, in turn, reduces the amount of muscle effort involved in isometric hold.
Kicking Up is Hard
Whether or not I manage to pull off a handstand has little to do with the act of hand balancing itself. Rather, it comes down to the initial kick up. Apply too much momentum and you’re going over. Not enough and you won’t get high enough.
While this is still an element I’m working on, a tip I’ve learned is to focus on pushing the leg up rather than kicking it back. Thrust one leg directly up and focus on slightly straightening the arms at the same time. It’s also useful to keep the feet closer to the hands as you begin the movement.
These tips are valuable, because they ensure the momentum is working to help you push up and straighten yourself out; rather than catapulting you forward (not good!).
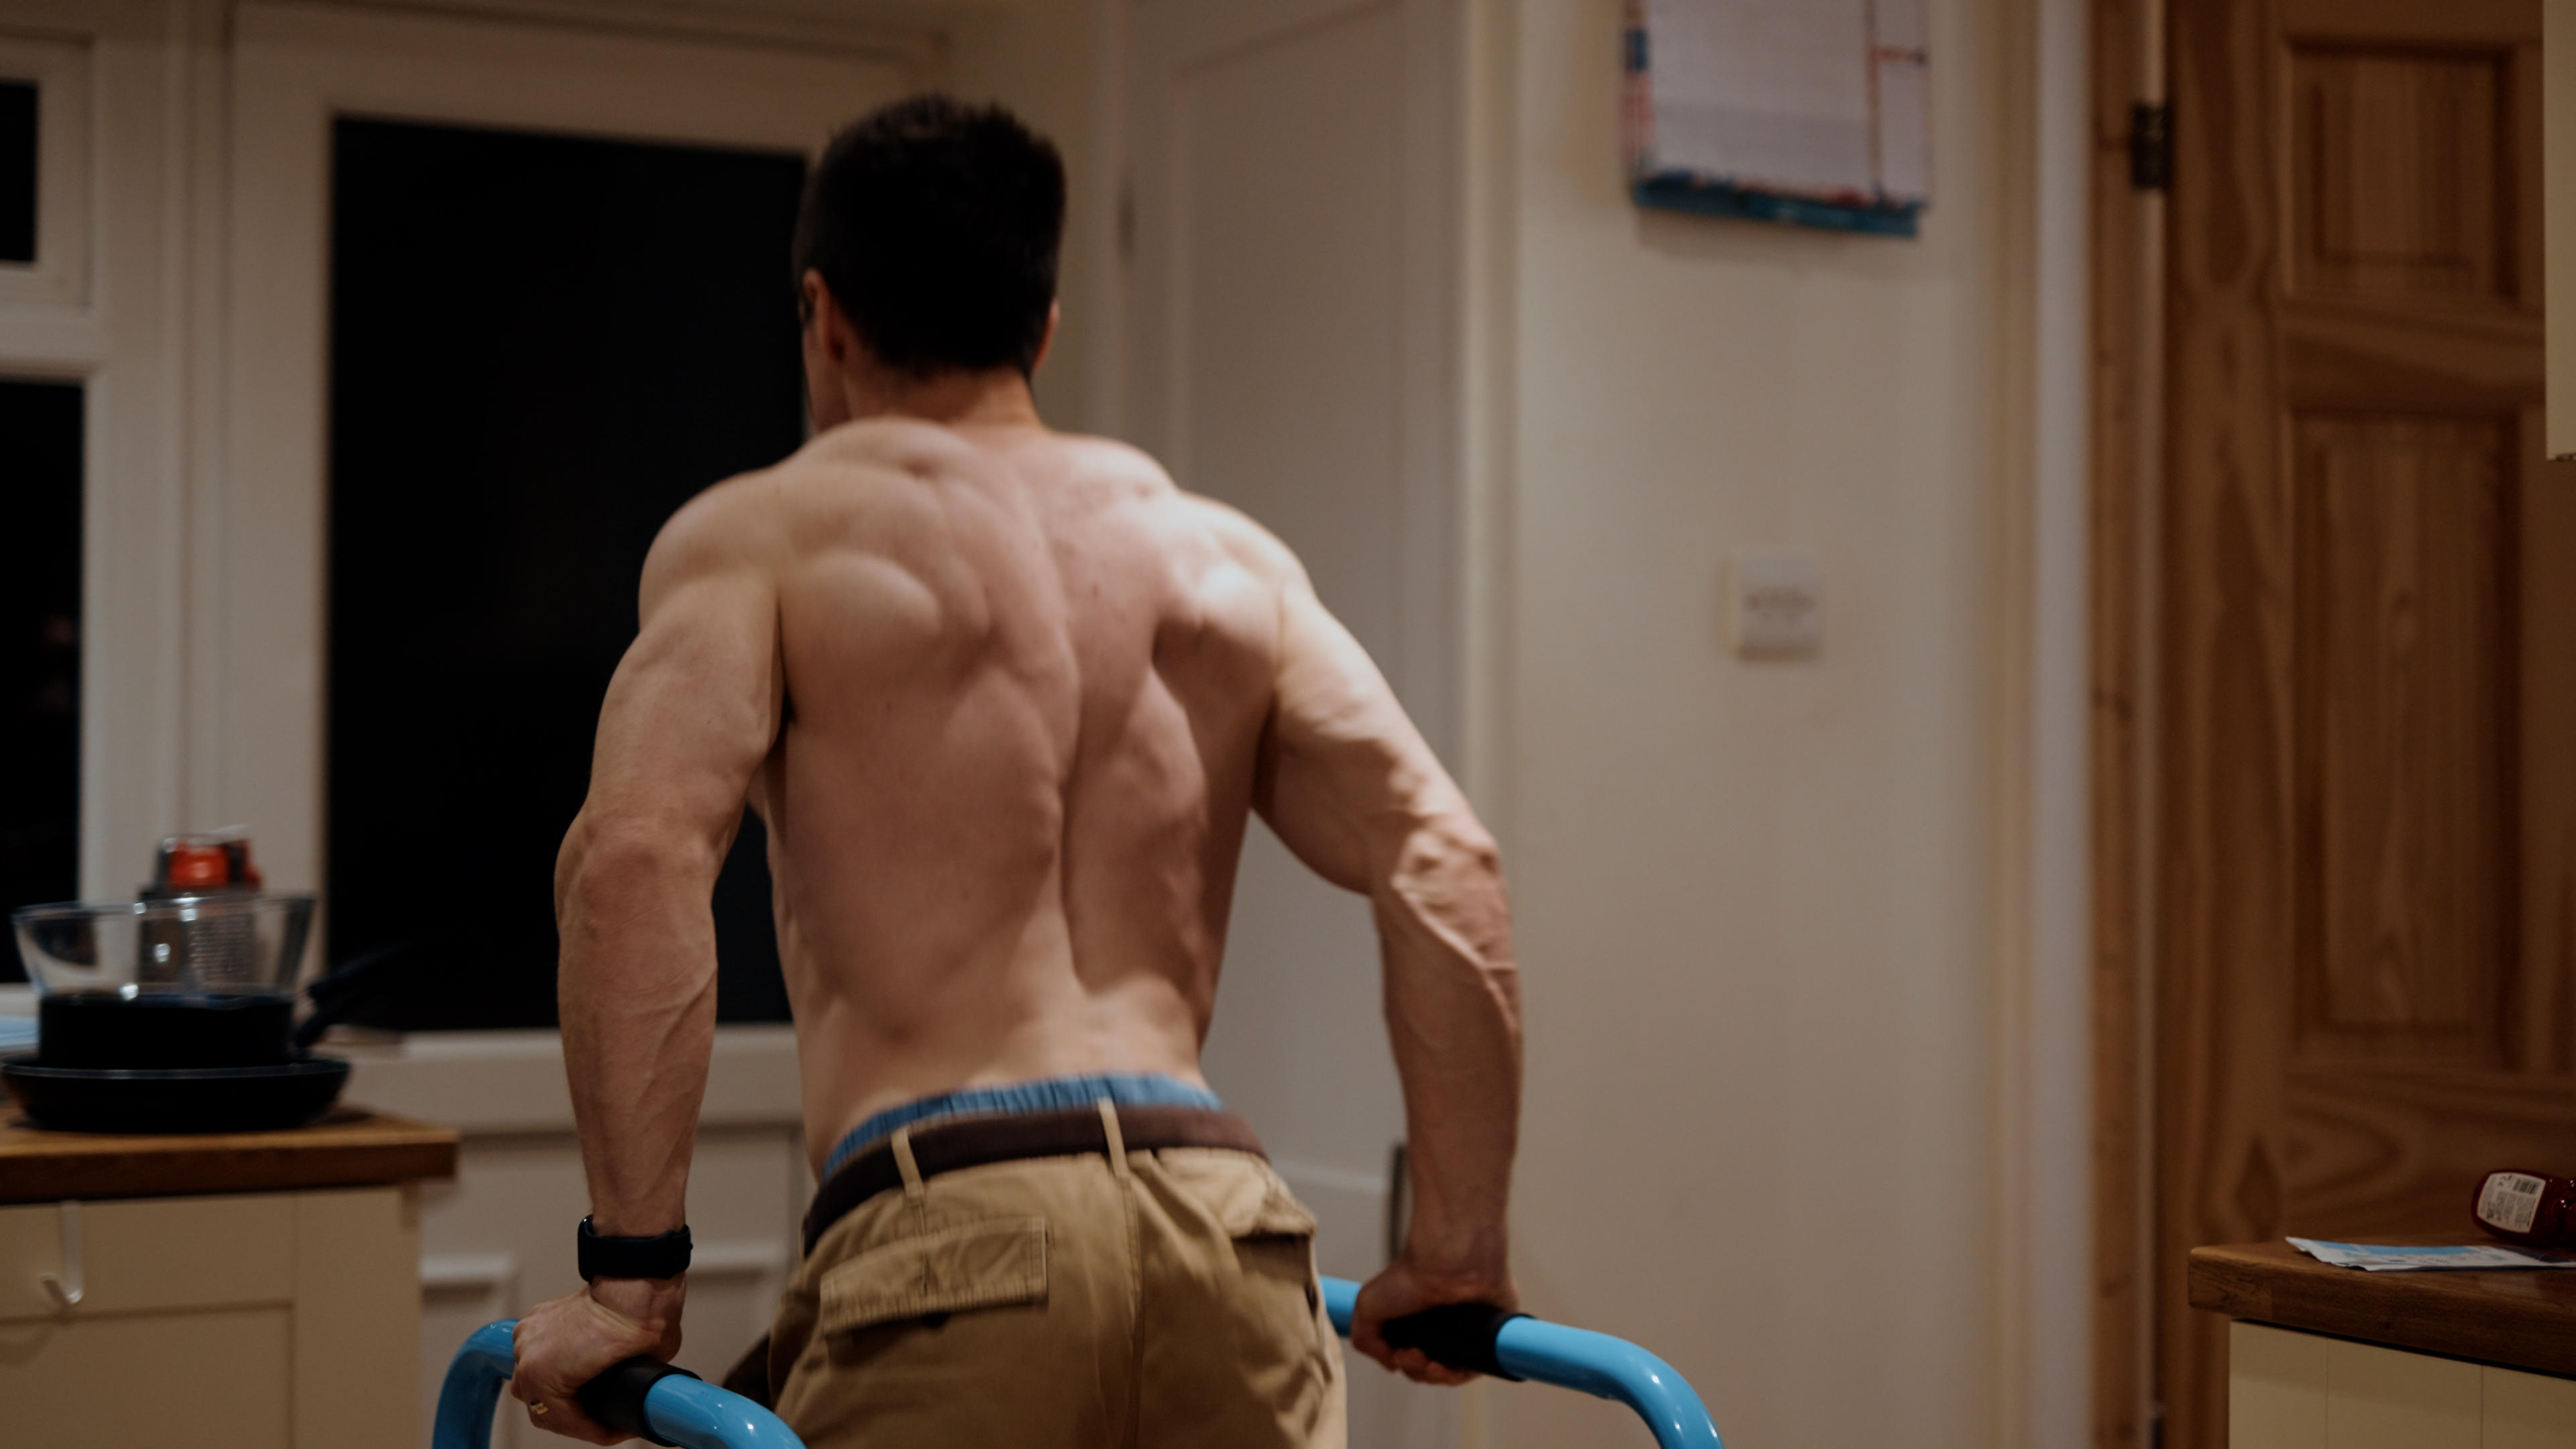
Get Parallettes
Parallettes do make life easier by allowing you to leverage more force through your wrists and giving you a firmer grip. That said, they’re also scary because they give you further to fall, and you risk smacking your face on them on the way down.
One of my exclusive handstand tips for fellow wusses out there, then, is to get low-to-the-ground wooden parallettes, or even hand-balancing blocks. Both will provide the advantages of parallettes, while being less scary!
L-Sit to Handstand Press
Using those parallettes, try performing an l-sit into handstand press. This movement is ideal for those, like me, who have more strength than skill. But by swinging your legs down from the l-sit into the handstand, you can actually benefit from some of the momentum this provides in order to more easily “swing” up into the handstand.

It’s also a great way to build powerful lats, abs, and shoulders. It turns handstand practice into more of a traditional workout, which offers extra bang-for-your-buck. This is another handstand tip I’ve not seen anywhere else, but it’s been a big one for me!
Put in the Practice
My last tip is just to practice handstands a lot if you want to get better quickly. As mentioned, handstands aren’t really an exercise that requires strength so much as technique and balance. This makes it hard to overtrain.
It’s also a lot of fun!
So, there’s little reason not to try a few handstands while you’re waiting for the kettle to boil, or before bed. More practice means more opportunity for learning, means more rapid plastic changes in the brain. In short, the more often you train, the more quickly you get the handstand. You gotta put in the hours!
There’s little reason not to try a few handstands while you’re waiting for the kettle to boil
At the same time, though, spacing your hand balancing throughout the day like this may mean you can benefit from “spaced learning.” This means you’ll learn faster by virtue of breaking up your training into smaller blocks.
See also: Greasing the Groove – Batman Skills Training
Closing Comments – What Are Your Best Handstand Tips?
So, there you go guys! Those are my top handstand tips from a learner. I hope you find something here useful, and I’d love to hear your tips down below – whether you’re a learner or an absolute pro!

Love to finally read this post. Free Handstands have been a struggle for me. Gripping the floor and facing the wall have done wonders, but I never thought of pushing my leg up. Glad to know I’ve at least been doing a few things right.
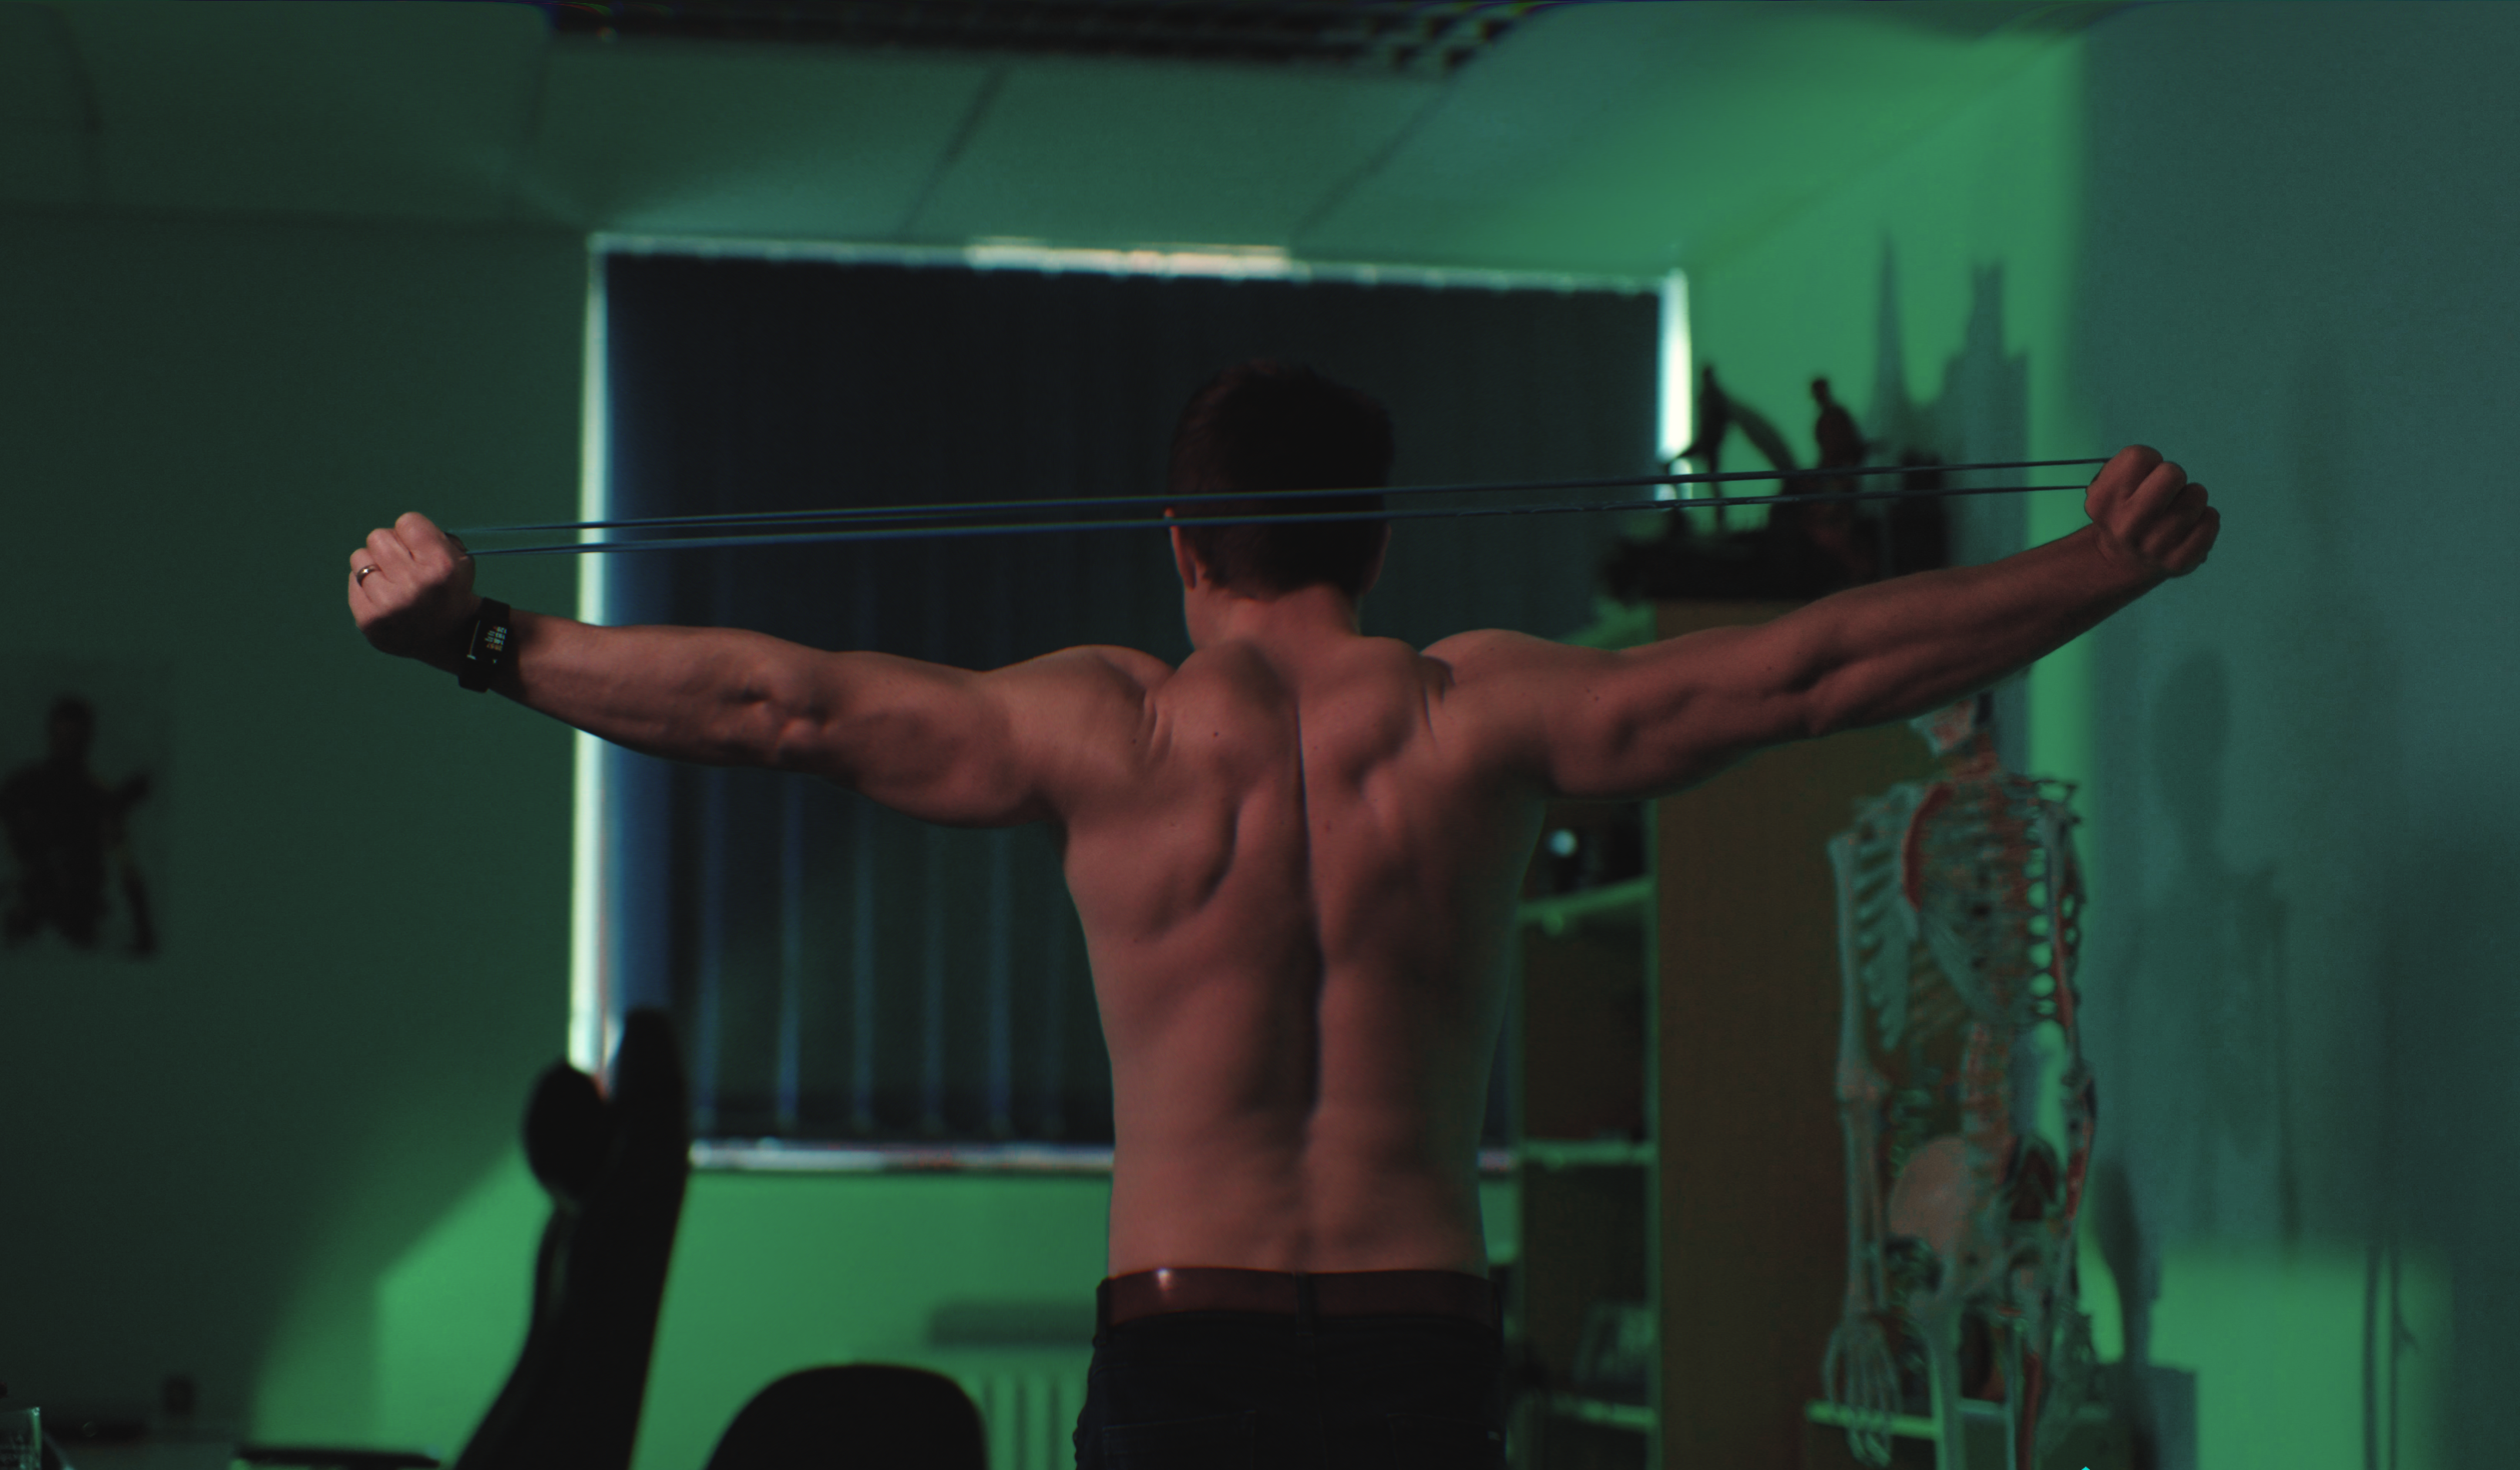
To work the line a deceptive isometric is a band drill. Stand on a light resistance band and raise arms overhead alongside ears, brace the entire body and push through the shoulders and feet as you would when upside down.
Bailing out with a cartwheel and drilling that specifically is a fantastic alternative to falling on ones head.
Awesome tips, thank you! The band idea is a stroke of genius 🙂
Great article, Adam. As a lifelong lover of inversion, handstands offer a variety of benefits, strength building of hands, arms, deltoids and back muscles. Not to mention, mental focus and balance, and the childlike connection to just having fun.
My earliest connection to learning handstands was inverting in the ocean, in lakes and in swimming pools. Handstands are fairly easy in the water and it’s there where I built confidence in the fundamentals of doing freestyle handstands on land. I’ll be 70 years old in 2022.